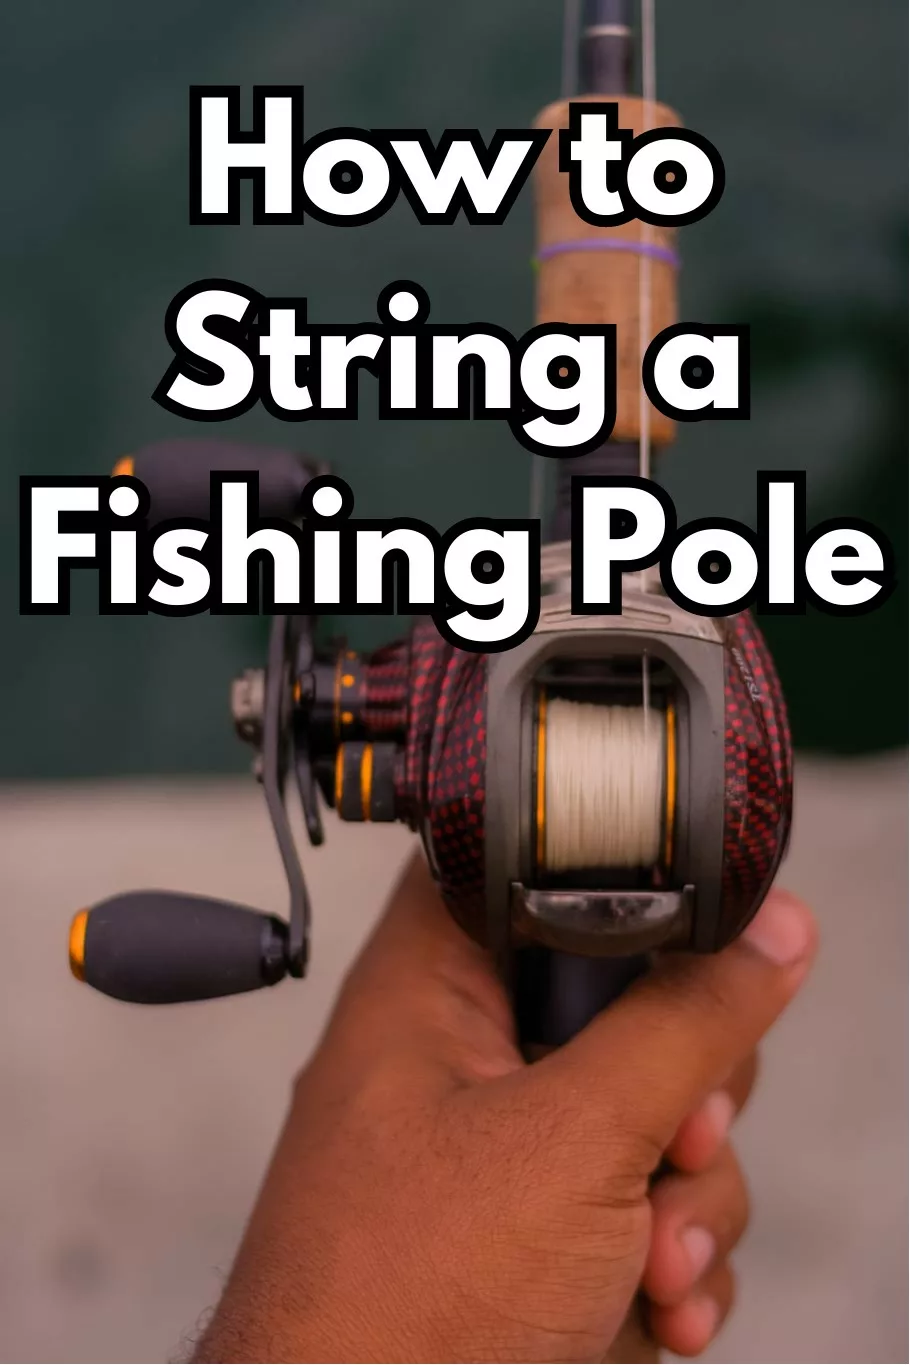
The serenity of waiting for a bite, the thrill of the catch, and the tranquility of nature all around – fishing is an age-old pastime that offers a lot to those who participate. However, the initial steps of setting up, especially learning how to string a fishing pole, can seem daunting for beginners. Fret not, because in this guide, we will break down the process step by step, ensuring that you are well-equipped for your next fishing trip!
Understanding the Basics: Why Proper Stringing is Essential
Before diving into the steps, it’s important to understand why properly stringing your fishing pole is crucial:
- Prevention of Tangling: Properly strung fishing poles reduce the chances of your line tangling, ensuring a smoother fishing experience.
- Increased Casting Distance: A well-strung pole allows you to cast further, broadening your reach in the water.
- Enhanced Sensitivity: It ensures you can feel the slightest tug from a fish, increasing your chances of a successful catch.
Step-by-Step Guide to Stringing a Fishing Pole
Step 1: Gather Your Equipment
Before starting, ensure you have:
- A fishing pole
- A fishing reel
- Fishing line of your choice
Step 2: Attach the Reel to the Rod
- Secure the reel to the rod by fitting it into the reel seat.
- Tighten the reel seat rings to hold the reel in place.
Step 3: Threading the Line
- Open the bail (the metal arm on the reel).
- Take the end of your fishing line and thread it through the line guide closest to the reel.
- Continue threading the line through each guide, working your way to the tip of the pole.
Step 4: Tying the Line to the Reel
- Wrap the end of the line around the reel spool at least twice.
- Tie a knot (most people like an Arbor Knot) with the line around the main line leading to the pole. This will form a loop around the spool.
- Pull the knot tight, ensuring it’s secure.
- Trim any excess line, leaving about a quarter-inch tail.
here’s a great video on an Arbor knot:
Step 5: Winding the Line onto the Reel
- Close the bail on the reel.
- Hold the line between your thumb and forefinger about 12 inches above the reel.
- Start turning the reel handle to wind the line onto the spool.
- Make sure to apply slight pressure to ensure the line winds evenly.
- Continue winding until you have enough line on the reel, typically filling it up to 1/8 inch from the rim.
FAQs: Delving Deeper into Stringing a Fishing Pole
Q1: How often should I restring my fishing pole?
A: It depends on usage, but as a general guideline, you should consider restringing:
- After every 15-20 fishing trips.
- If you notice memory loops or kinks in the line.
- After catching a particularly large or combative fish that might have weakened the line.
Q2: What type of fishing line should I use?
A: The type of fishing line you choose depends on the type of fishing and personal preference. The most common types include:
- Monofilament: Versatile and suitable for various types of fishing.
- Fluorocarbon: Less visible underwater and sinks faster.
- Braided: Strong, with little to no stretch.
Here’s our article on Mono Vs. Fluorocarbon Click here.
Q3: How can I prevent my line from twisting when stringing?
A: Here are a few tips to prevent line twists:
- Make sure the bail is open when you start to thread the line.
- When filling the reel, ensure the line comes off the spool in the same direction it goes onto the reel.
- Periodically check the line for twists as you reel it in.
In conclusion, while the process might seem intricate at first glance, stringing a fishing pole is a skill that can be mastered with a bit of patience and practice. Whether you’re a seasoned angler or just getting started, ensuring your pole is correctly strung can make a significant difference in your fishing experience. Happy fishing!

